


Being that I've been leaving the studio around midnight or later these days and working some more when I get home, I'll keep this short and sweet. Big thanks to Julia and her work study in the furniture shop for all their help with the vacuum bending!
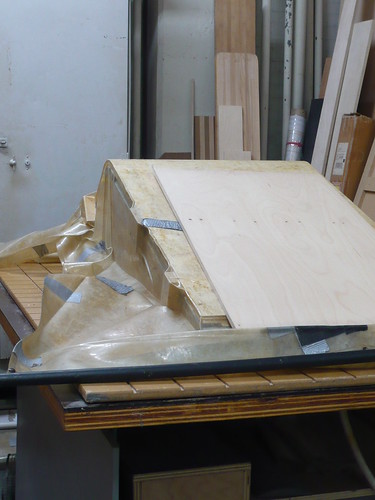
Added a skin to the mold (with the nail gun and tacks) to make sure the bend would be smooth. Cushioned the sharp ends of the nails that protruded on the shallow sides of the mold. Duct tapped the ends so the piece won't glue to the mold. Added blocks on one side to line up the sheets of wood.
Now for the photos of the wood bending:
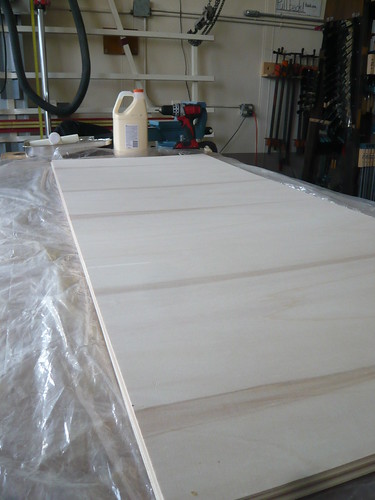
Rolled on an even layer of glue on each sheet of wood. Had to get it on the mold and into the vacuum bag and vacuumed within 30 mins before the glue set. Two people rolled since this glue seemed tackier then usual. Sprayed some water to give us some working time.
Pressed and smoothed the bag while the vacuum sucked up the air. Any air pockets or folds means the wood won't be pressed down evenly.
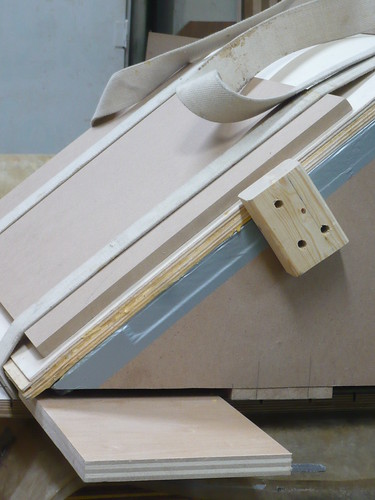
After a few hours, removed from vacuum and strapped some flat boards on top to make sure there's no warping/twisting while the piece dried.
The furniture shop was closed over the weekend so took the straps off a couple days later. Put a bag over the piece to protect from the rain and carried it back to the studio.
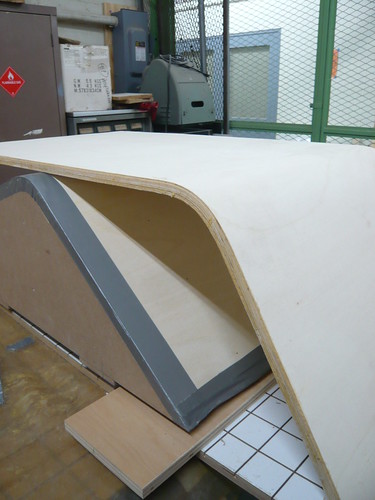
Making the cuts so that everything is perfectly angled is the difficult next part. Once I get the exact angles, I can get the legs done. Three more designs to go. The mold for the plate is chilling in front of a fan as we speak. The rain is making the drying take much too long! Pics to come.
2 comments:
i can't believe you're bending wood...that's amazing!
thanks! helps to use bending poplar rather then solid wood like my copenhagen chair.
Post a Comment