


It's been a while since I've presented my thesis. If I haven't mentioned, it went quite well. I think my peers and professors were able to see the amount of research and effort I made. I think everyone was pleasantly surprised at what came out of my thesis topic.
Anyhow, it's probably about time I get back to sharing my process of making my table, no? Catch up from the beginning or where I last left off.
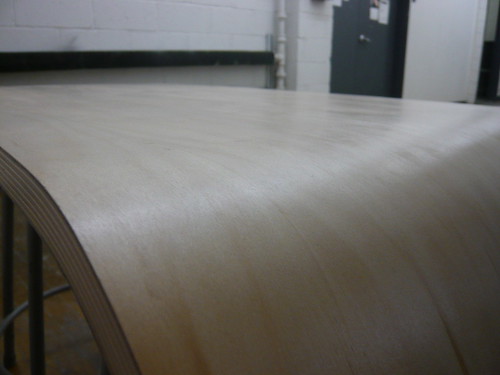
After bending the wood, I hauled the mold and bent wood back to the studio in the rain. I then took the bent wood table surface to the shop to measure out the angles to finalize the table legs.
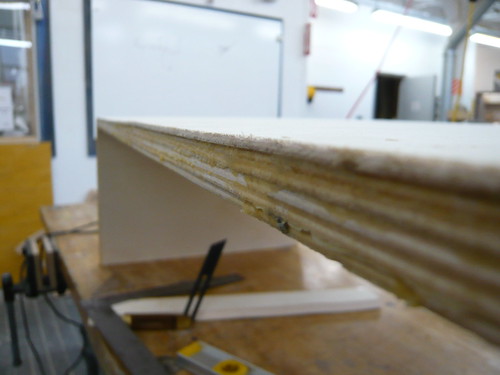
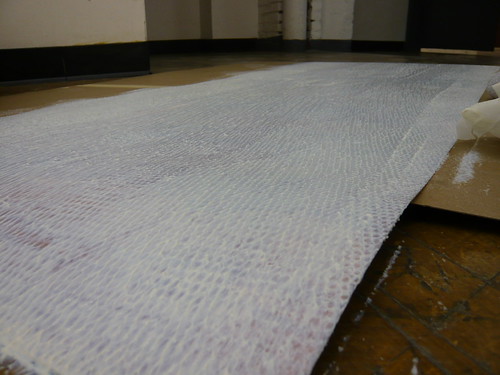
Before cutting the angles into the table surface, I veneered the bottom side so there would be less to hand cut later.
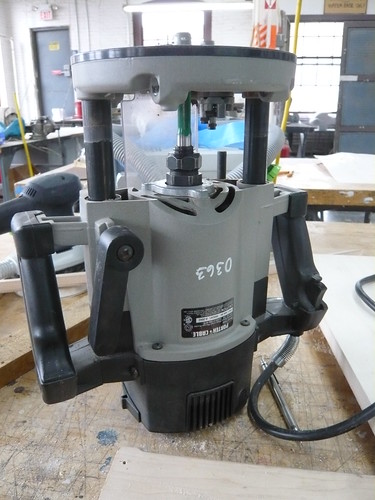
Then I cut the angles into the surface with a jigsaw then evened it out with a hand router. Now that's a power tool. You don't want to mess with me haha.
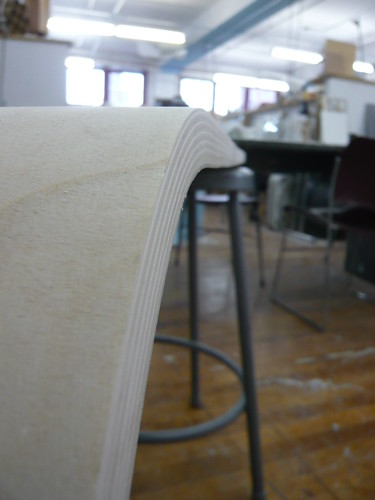
Then finished the edges buttery smooth with a power hand sander.
I'd been working on the SolidWorks (3D CAD software) drawing of the table legs all the while and had the true and perspective view of the drawing printed in full scale for the metal fabricator. I don't know how to weld yet or you know I would've attempted to make the table legs myself. My professor suggested a CNC bender but the ones I contacted weren't too helpful. Either way, as much of a headache it was, I think the fabricator worked out better. The legs look great!
After the fabricator was done with the legs, I got table surface back and applied a veneer to the top surface. Trimmed the veneer and covered the whole table surface with a water based varnish, hand sanding between coats. It gave the table a beautiful subtle sheen that's ready for your coffee cup, magazine, whatever you choose to place upon your coffee table.
0 comments:
Post a Comment